Deploy a Blueprint
Deploy maintained software without assembling its containers, databases, storage, and internal connections yourself. You choose the application and its settings; the Blueprint supplies the tested architecture.
You need a deliberate. account and Team. If you also want to work from a local checkout, complete Install and sign in; console-only Blueprint deployment does not require the CLI or a container runtime.
1. Choose a Blueprint
Section titled “1. Choose a Blueprint”Open Blueprints in the console. Public Blueprints are available to every Team; Team Blueprints are visible only to members of that Team. Open a Blueprint to inspect what it stands up, the inputs it accepts, and its runtime commitments.
Choose Deploy, select the Project and Environment, and review the preview. The Blueprint becomes desired state inside that Environment—it does not create a separate application silo.
2. Configure it
Section titled “2. Configure it”Supply ordinary arguments during the deployment flow. Secret arguments are entered separately and are never written back to the Project YAML as plaintext.
The equivalent authored resource is:
resource: blueprintname: chatfrom: publisher/librechat@2.1.0arguments: APP_NAME: Acme Chat INFERENCE_ENDPOINT: https://inference.example.com/v13. Deploy and open it
Section titled “3. Deploy and open it”Review the complete Environment diff and apply it. Once the deployment is ready, use the route shown on its canvas node or deployment handoff.
After deployment, select the Blueprint node to change arguments, rotate secret arguments, bound component resources, configure alerts, or review an available upgrade. Continue with the Blueprint lifecycle.
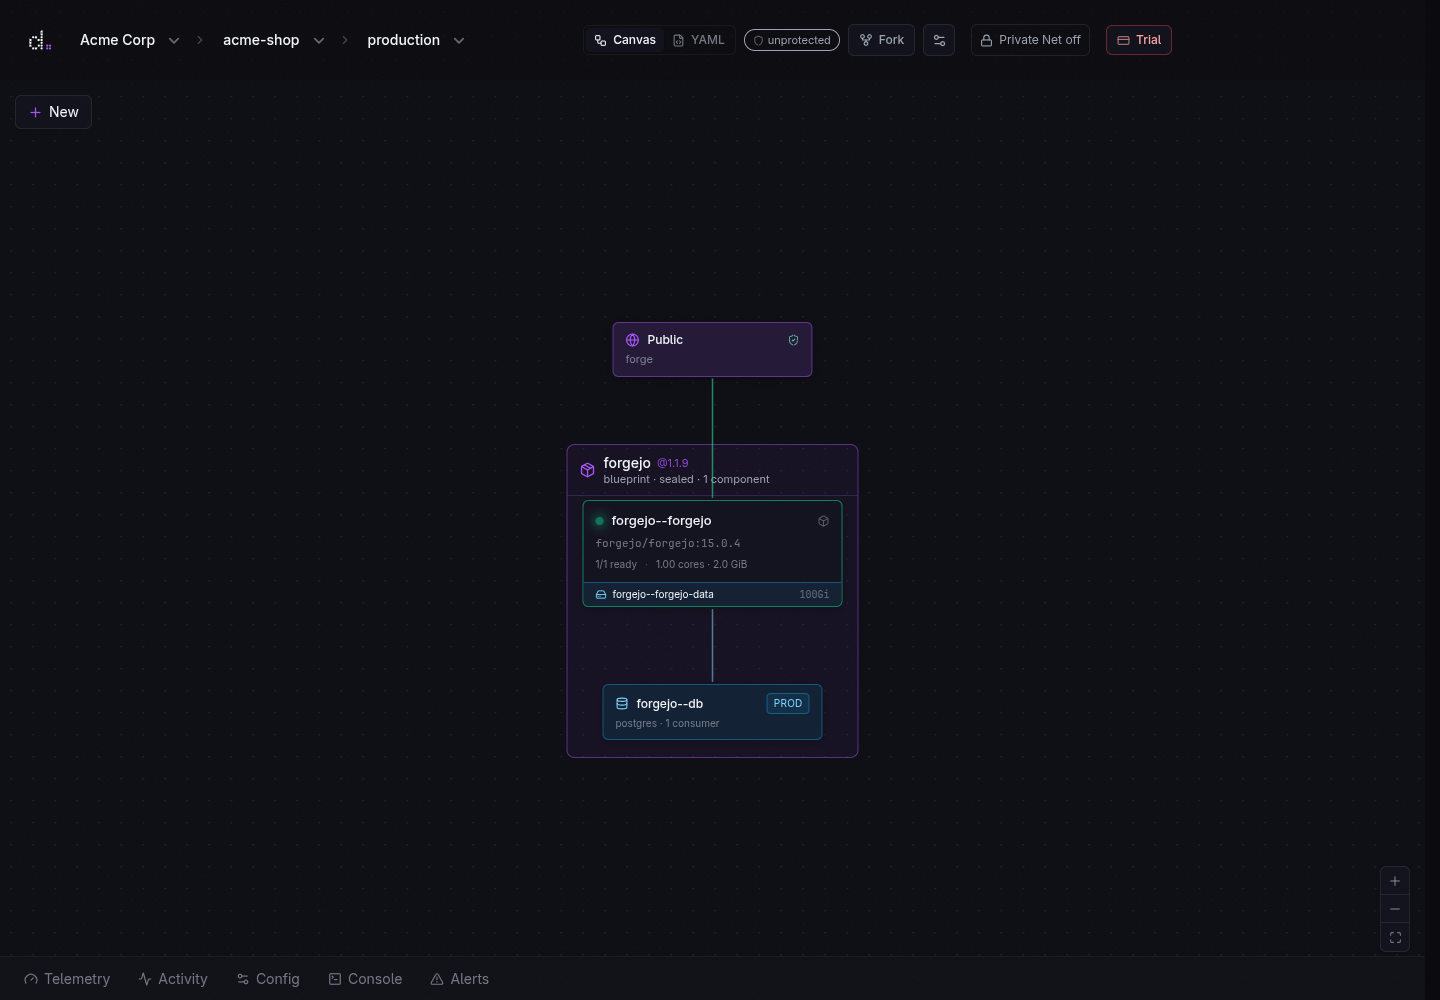
Test an upgrade before production
Section titled “Test an upgrade before production”When a new Blueprint version is available, first fork the complete production Environment into a disposable preview:
deliberate apply --env preview-blueprint-upgradedeliberate open --env preview-blueprint-upgradeThere is no separate create step. The first apply materialises the matching
preview-* Environment from production according to the Project’s Flow. In the
console, open that preview, select the Blueprint node, and apply the available
upgrade there. Its components, dependencies, configuration, routes, and cloned
data resources can be exercised together without replacing production.
Once satisfied, return to production and apply the same Blueprint version from its Blueprint node. Then tear down the preview:
deliberate envs delete preview-blueprint-upgrade